
How to take a screenshot in Mac with mouse pointer included
I am making a few design instruction tutorials these days, and I was looking for a way to include the mouse pointer with my screenshots. I started off with superimposing the picture of a mouse pointer on the screenshot using a graphic editing tool using layers. However, that's not the best way.
The best way is this:
1. Start "Grab" from your "Utilities" folder in "Applications"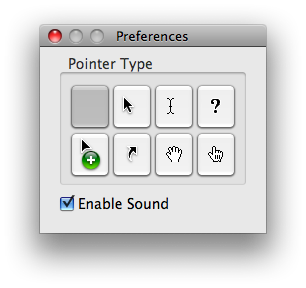
2. Open Grab's preferences by pressing command and , together or using the menu item.
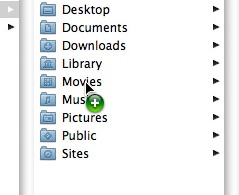
3. Select the mouse pointer of your choice to be included when taking screenshots.
4. Use Grab to take as many screenshots as you like - your mouse pointer will always be included as long as you take shots with Grab.
Please note that if you set the preferences in Grab, but take a screenshot by pressing Command+Shift+3 or Command+Shift+4, the mouse pointer will not be included. You must take a shot with Grab itself to include the mouse pointer in your screenshots.


 RSS
RSS


No comments:
Post a Comment